How to use Angular 2 built-in directives - *ngIf and *ngFor
In this post we will briefly explain what are the structural directives and why they make our life easier…
Structural Directives
Basically these kind of directives actually change the HTML layout - they either add or remove a DOM elements.
*ngIf
As you can guess from the title, this directive will allow us to show or hide some div for example, depending on a certain condition.
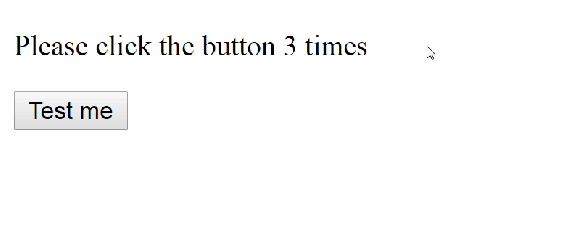
So imagine that you want to display some text after someone clicks a button or even after exactly 3 clicking, like in the following example:
Firstly, we need to define our class, where we will have two properties: counter and requiredClicks and one function clicked()
The counter will increase every time the function is called.
The requiredClicks parameter will be used as a condition on whether to show some DOM element or not, but you will see more about it later on.
The function clicked() will do something when the button is clicked.
@Component({
  selector: 'my-app',
  template : `
     <div>
       <p>Please click the button  times </p>
       <button (click) = "clicked()">Test me</button>
     </div>`
})
export class App {
  counter: number = 0;
  requiredClicks: number = 3;
  clicked() {
    this.counter += 1;
  }
}
The next thing is to define a DOM element in our template which will “look” if some condition is satisfied. In our case we will define div element with a directive NgIf which will only come true if we clicked 3 times on the button.
If counter > requiredClicks - 1 is true, than every child element of the current div will be displayed.
@Component({
  selector: 'my-app',
  template : `
     <div>
       <p>Please click the button  times</p>
       <button (click) = "clicked()">Test me</button>
       <div *ngIf = "counter > requiredClicks - 1">
          <div>The button was clicked  times</div>
       </div>
     </div>`
})
export class App {
  counter: number  = 0;
  requiredClicks: number = 3;
  clicked() {
    this.counter += 1;
  }
}
Looks really intuitive, right?
Let’s continue with another useful directive:
*ngFor
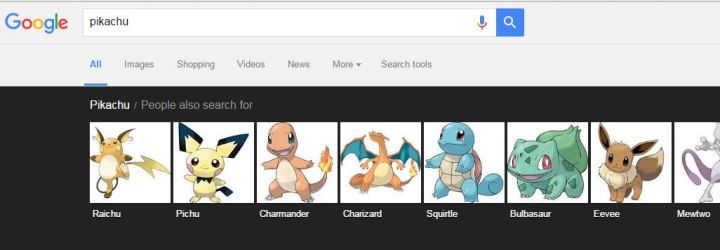
When I wondered what should be the mock data for my next example I saw few kids playing Pokemon Go so let’s use the names of the most famous pokemons :P
@Component({
  selector: 'my-app',
  template : `
	<div>
	    <ul *ngFor="let pokemon of pokemons">
	       <li> {{ pokemon }}> </li>
	    </ul>
	</div>
	`
})
export class App {
  pokemons: string[] = ["Charizard", "Pikachu", "Charmander", "Bulbasaur"];
}
As a normal for loop with the syntax “let pokemon of pokemons” we are saying that we will use the name “pokemon” for every element from the given array called “pokemons”, just like we are normally using index or i. Than we will display every element from our array in “li” tag.
- Charizard
- Pikachu
- Charmander
- Bulbasaur
Hope this content would be useful for you.
If you like this, follow me on twitter!